Welcome to my

Page
Examples of movement
Levitation
|
Personal Response
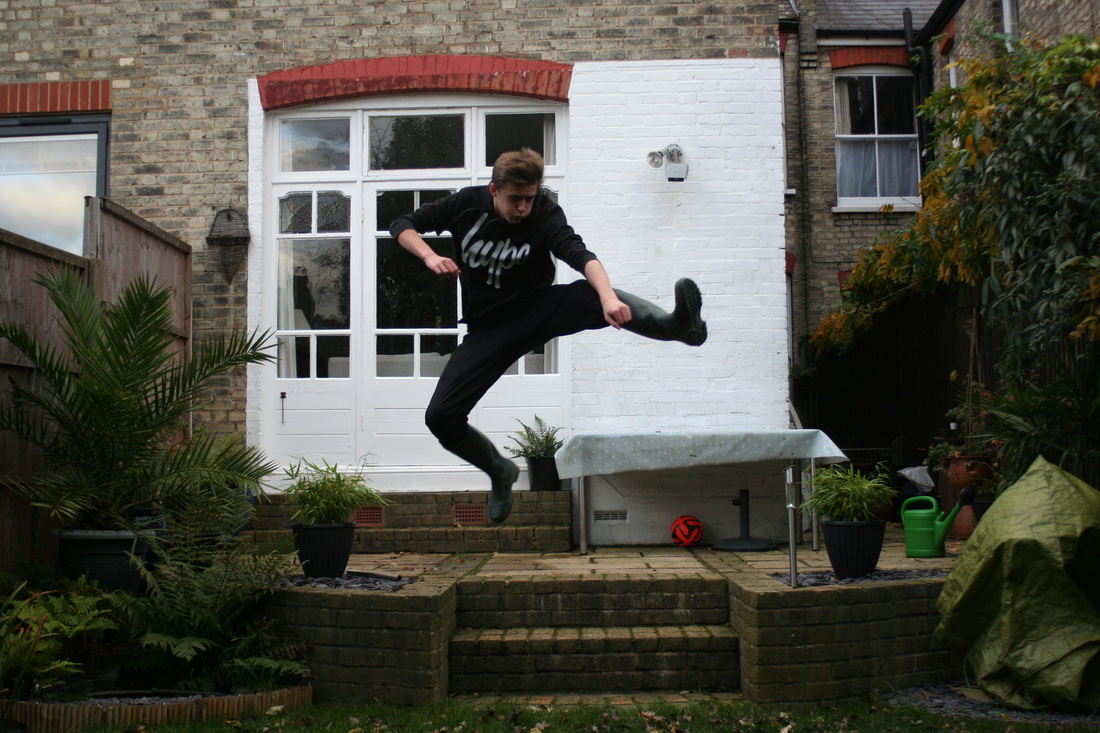
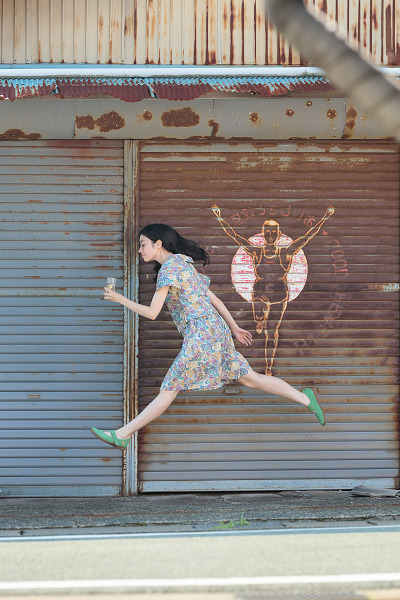
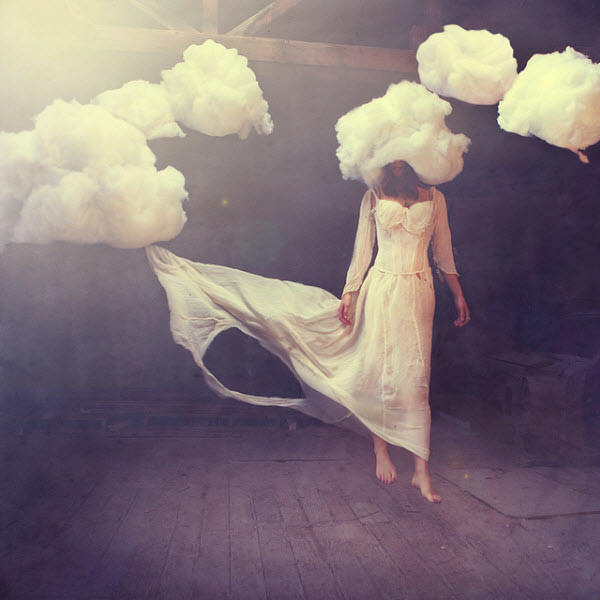
Many says floating in the air, or so called levitation is impossible. Well, in fact everything is possible, all you need to do is believe yourself, believe that you can do it! And by the way, I’m talking about not achieving levitation with the help of cheat tool like Photoshop. These are my levitation photos. Levitation is when you capture a movement in mid air for example in IMG_0011.JPG, I am cross legged in the air, this is because the photographer captured the moment when I was in the middle of the jump. For this to happen, the shutter speed has to be on a high number such as 1000. Tripods were used to capture these images. I think that creating a surreal portrait shows the creative process. From planning to set up to shooting to processing, is a slow and methodical creative process. When you have the intention of creating something surreal, all the constraints and bounds on your creativity are loosened. |
|
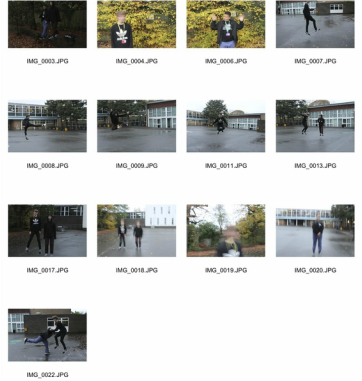
Three Examples


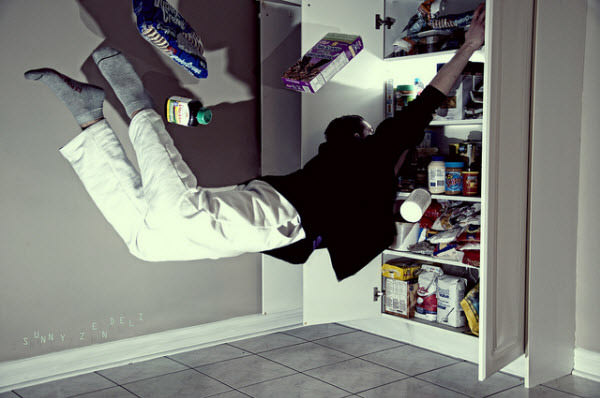
TASK: The task of this activity was to create a contact sheet with a series of multiple images of Levitation just like the examples of Yowa Yowa's below. during the task I set the shutter to a variety of different speeds, testing out what the images came out like. I used a tripod to capture all the image and also putting them in focus.
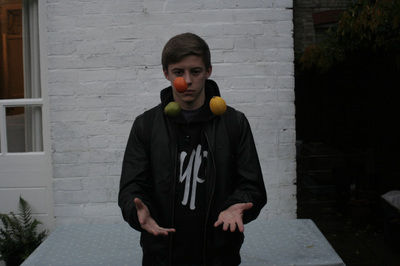
Levitation
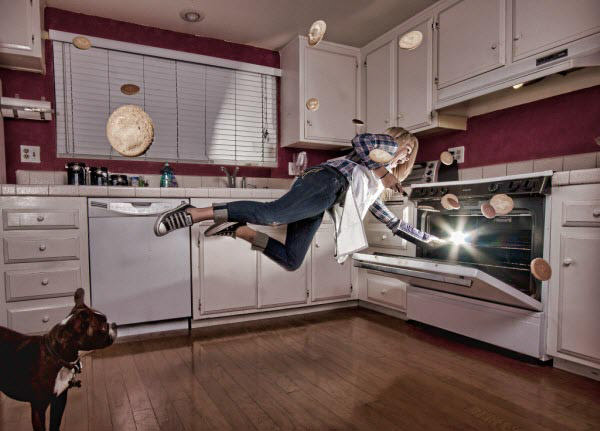
To create my levitation photos I used a very fast shutter speed of 1/100 , I asked my friend to jump in a way which results in an illusion that they are floating. He would jump and I would try capture him when he was in the air.
Yowayowa : Artist analysis
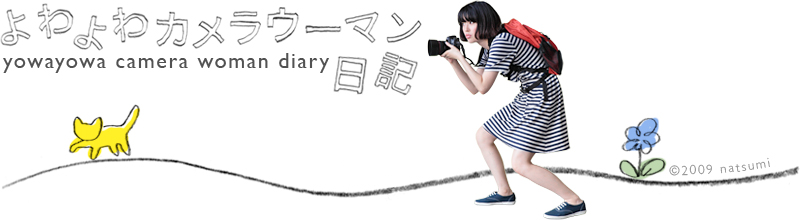
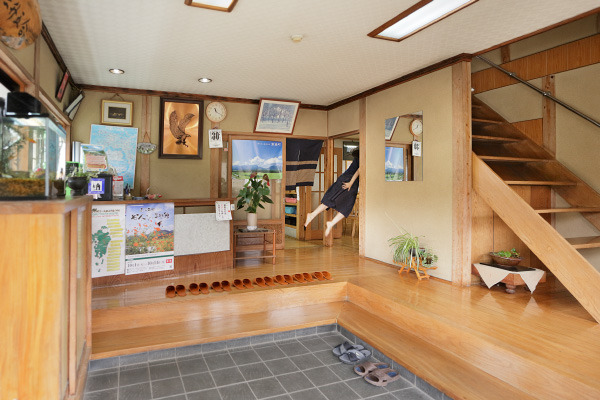
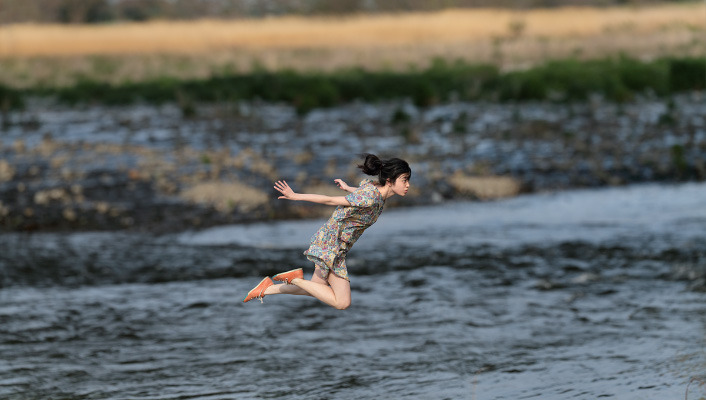
Yowayowa is a photographer who specializes in levitation photos (http://yowayowacamera.com/). She uses extremely fast shutter speeds such as 1/320 and 1/500. Her friend helps her produce amazing images ,as shown below, by getting them to stand in one spot. After that she will then check the lighting, focus and composition. After, she will then capture the image of her friend or herself and whilst this is happening her or her friend will be pressing the shutter button while the other jumps. This will make it look like the model is levitating in mid air.
Examples of YowaYowa
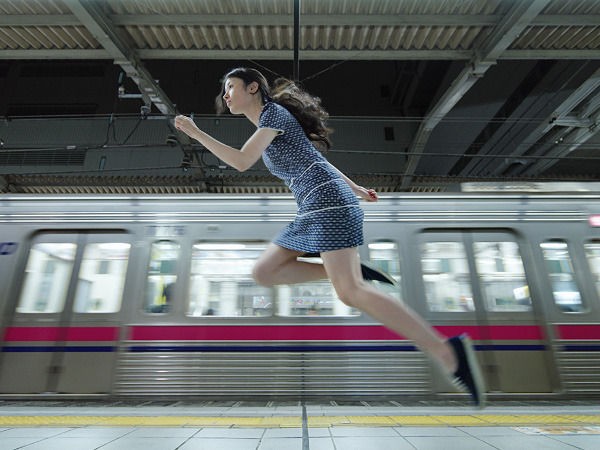
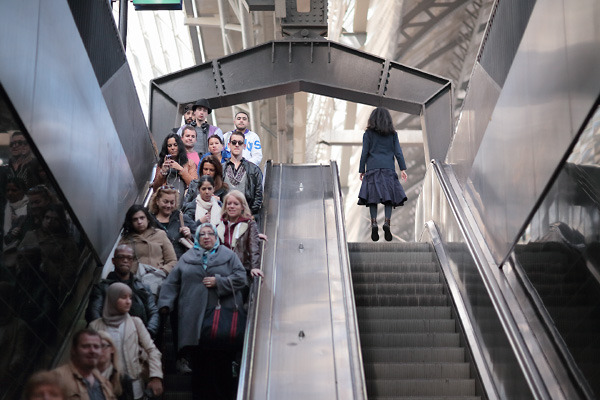
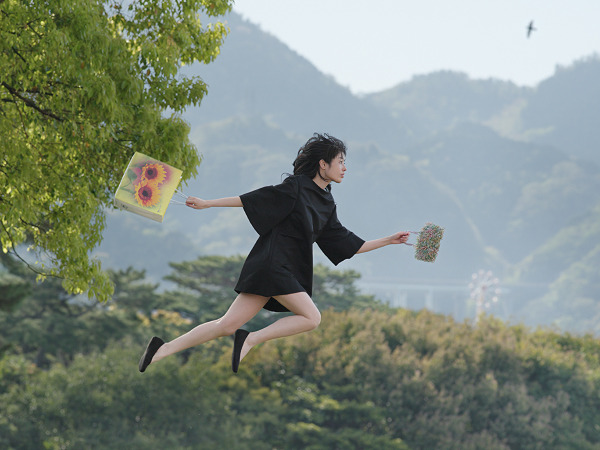
Examples of Levitation

Artist Analysis : Francesca Woodman
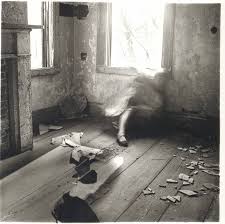
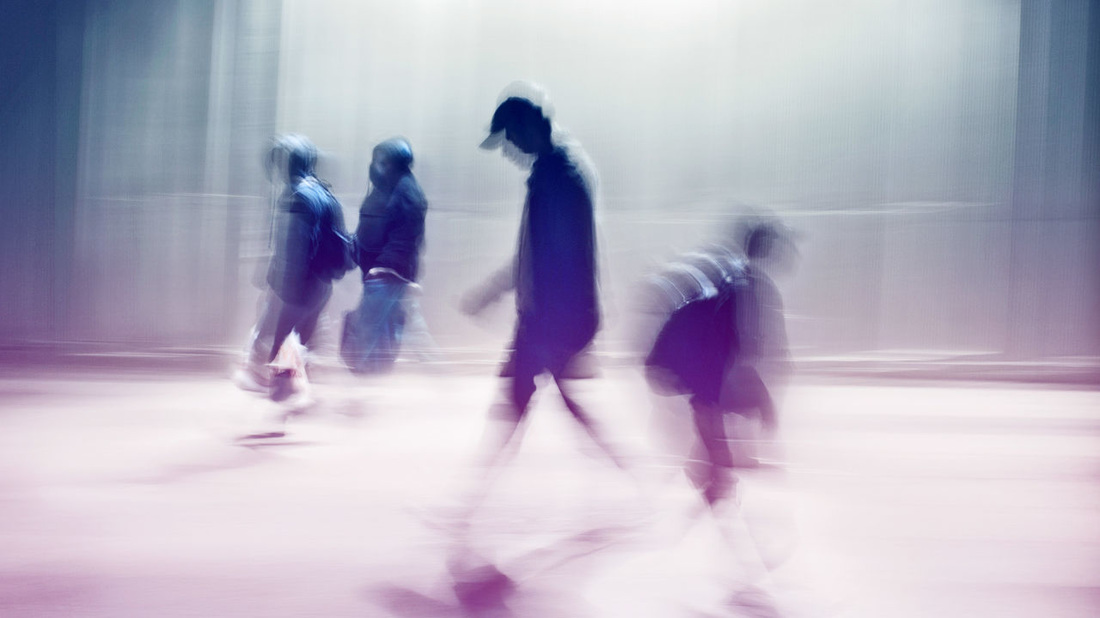
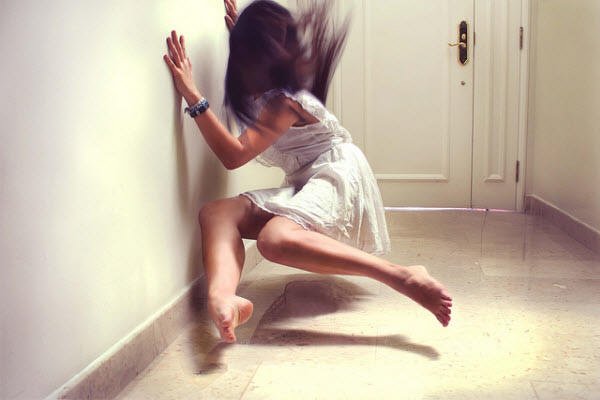
Francesca Woodman was an American photographer who specialized in blur photography. She was born in April 1958 and died in January 1981.
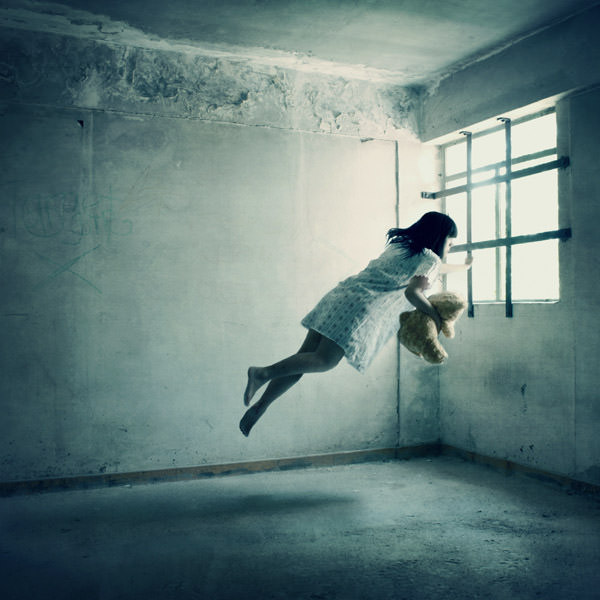
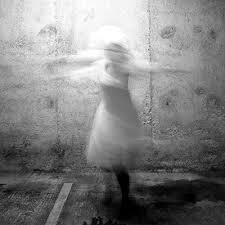
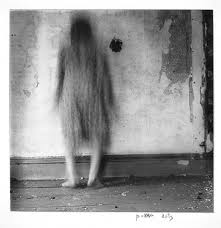
In the first image, the blurred image is made to look like a ghost, This is done using a very slow shutter speed to create blur. In this image you can see a blurred figure, looking as if it's falling to the ground, a rough looking wall and broken wooden floor boards. These are all different textures and patterns that make the blurred image look effective. The second image is similar as it shows old textures and patterns in the background to make the blurred woman look ghostly and effective. Just like the previous photo this image is also in black and white just like many of her other photos are and in that particular image we can see a women in a baggy spotty dress standing with her head down. This is shown to maybe create a mysterious effect on the figure.
response to francesca woodman
|
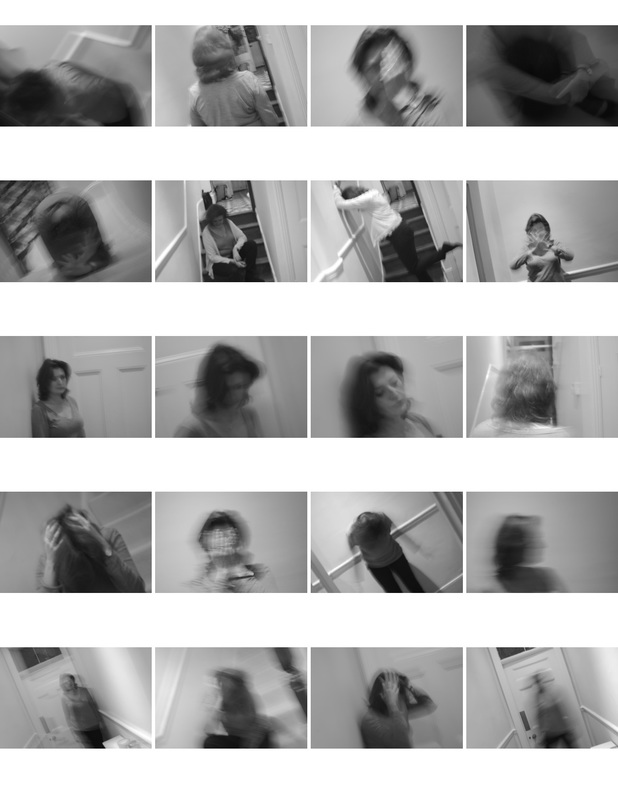
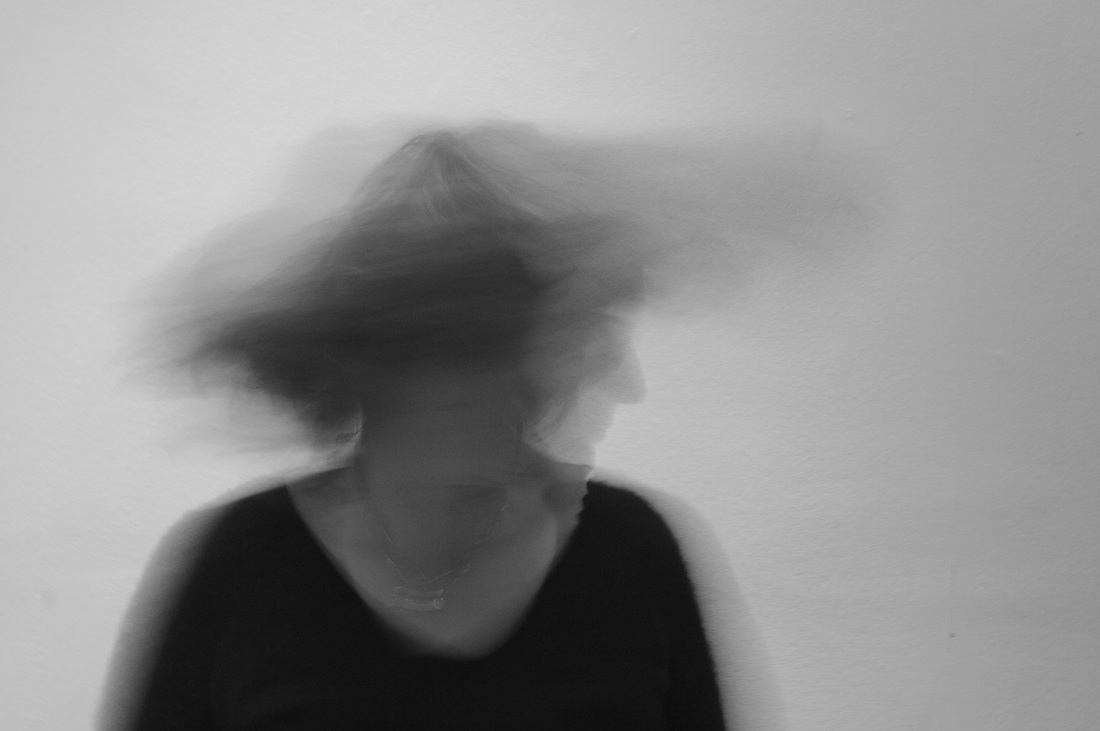
Likewise in many of Francesca's photos, this is in black and white. This creates an effect of fear and mysteriousness. In this image, the model is whipping her hair back and fourth, creating a blur effect over her face.
|
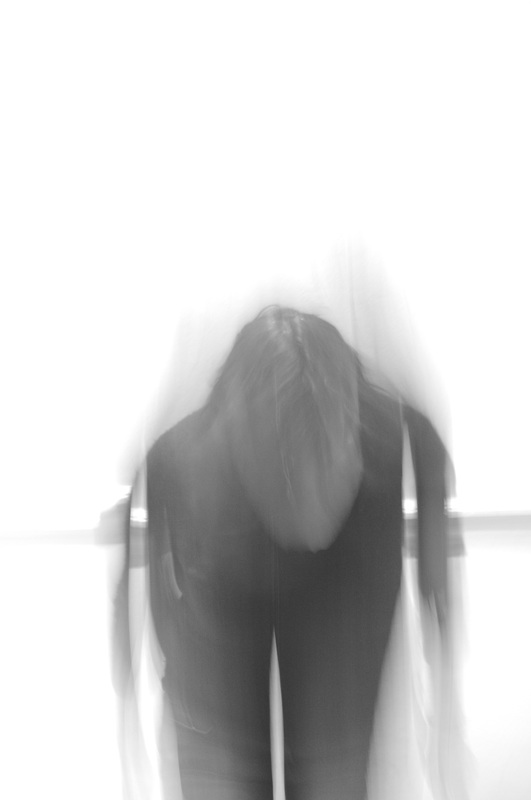
In this image, the black and white effect is also created. The model is standing with her head down, covering her face. This is important when comparing work to woodman's as covering identity was a main use in many of her photos.
|
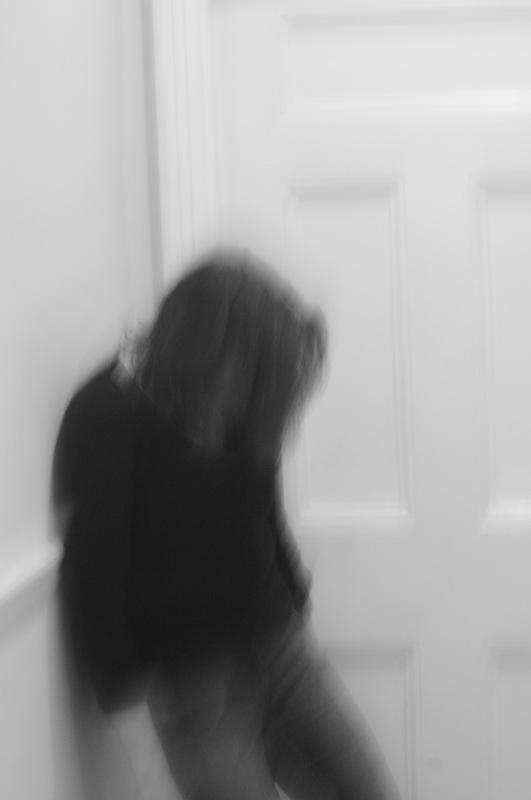
In the final image, the model is slanted on a wall, and again, with hair covering her face. This is a pose used in many of Francesca's photos too.
|
Task: The aim of the task was to try and re create images like Woodman's, using the right aperture, and shutter settings. To produce the blur of the above images I used a shutter speed of 0''4and and aperture of 4.5. Because the lighting in the shooting room was limited, the camera automatically adjusted itself to the right amount of light it would let in. After that, I shot some photos, trying to re create Francesca's images.
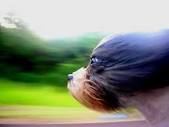
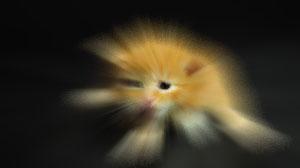
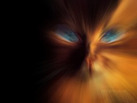
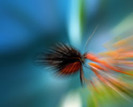
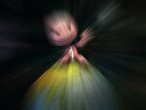
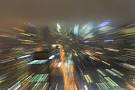
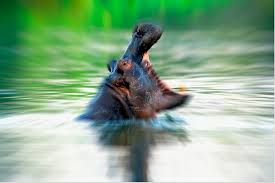
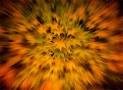
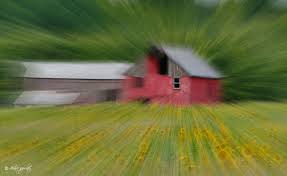
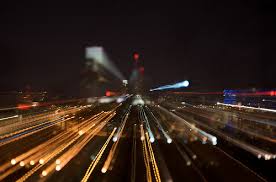
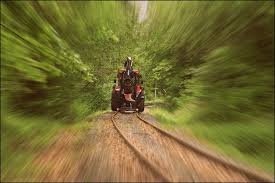
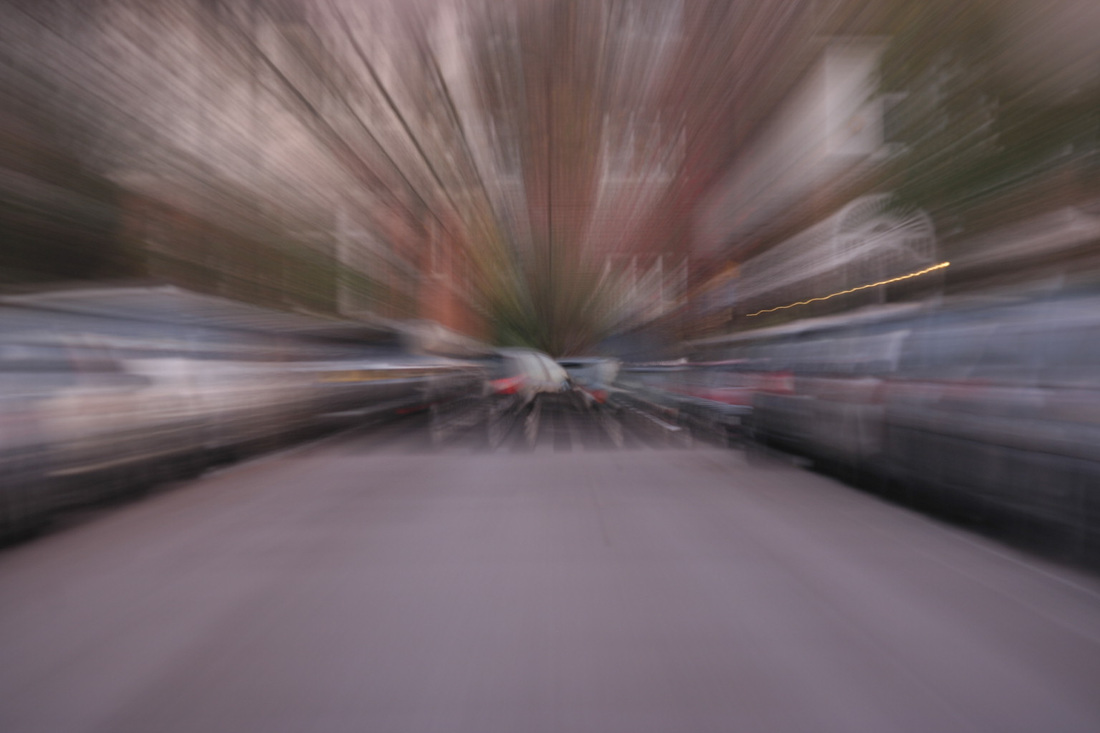
Zoom Blur
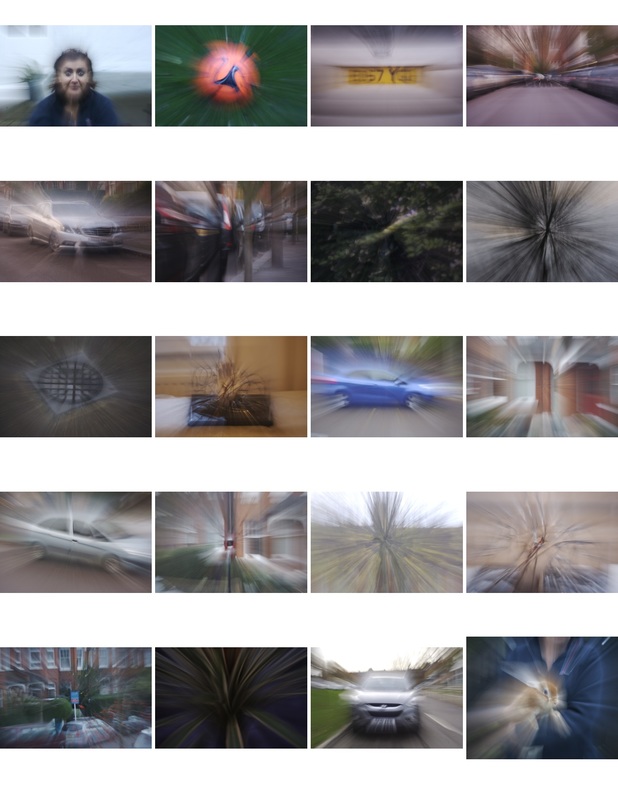

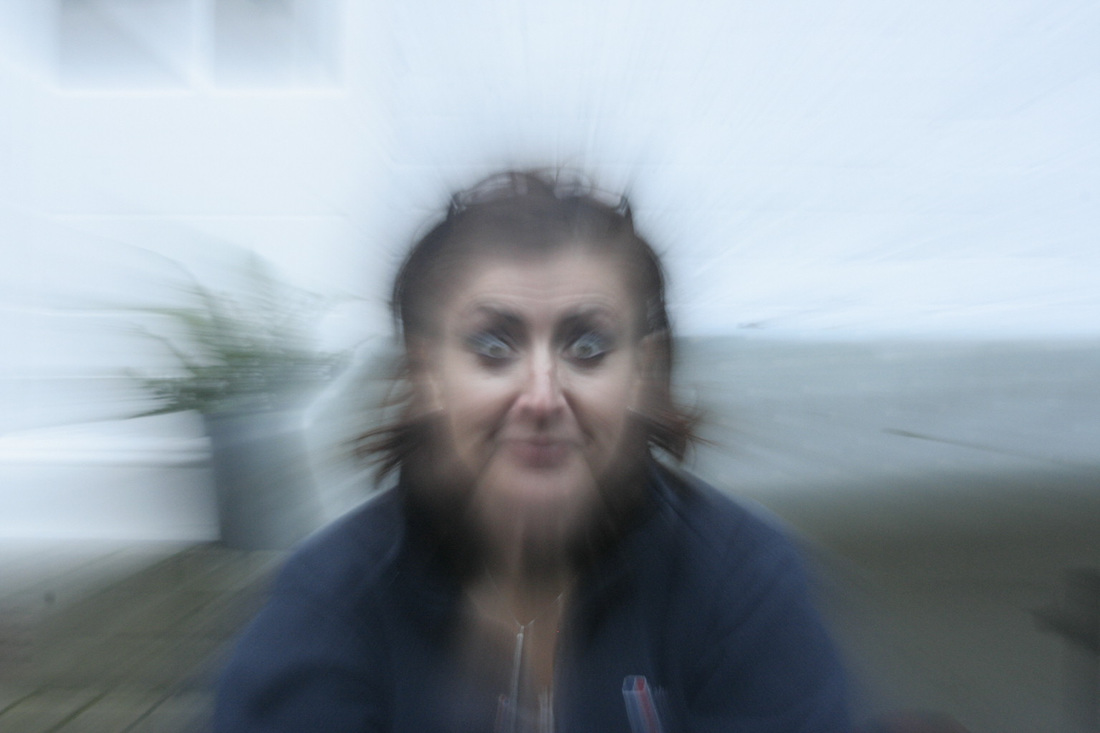
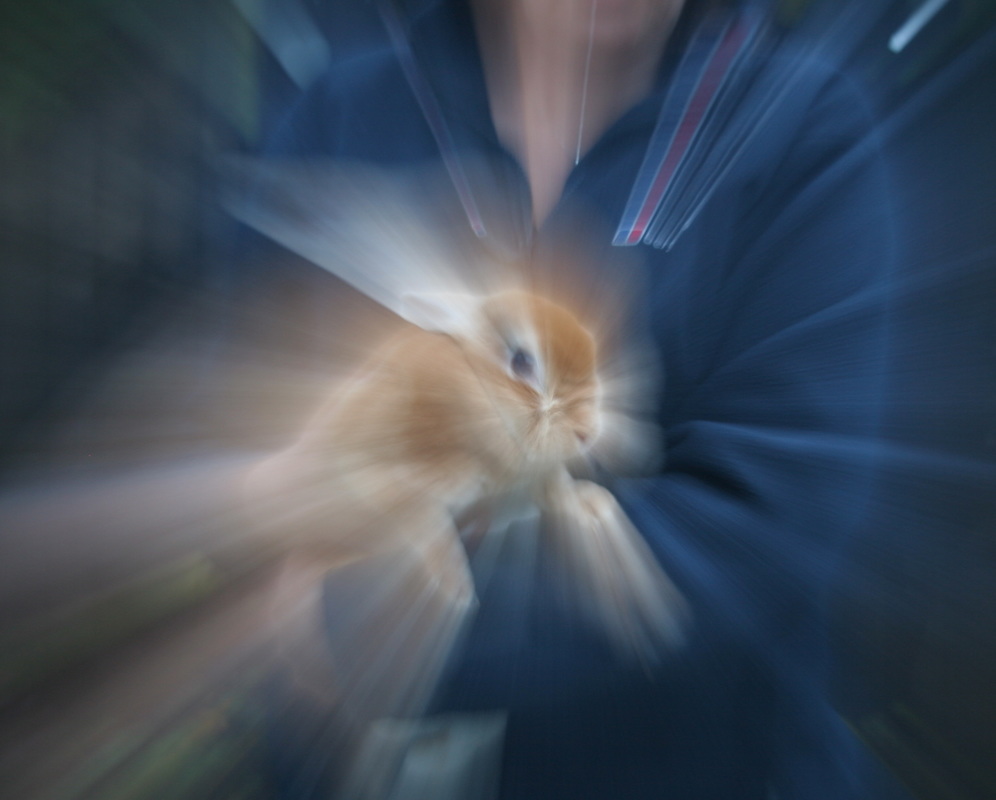
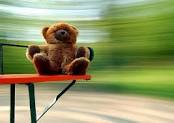
Task: The aim of this task was to produce zoom blur images. Using shutter settings of 0''3 and aperture settings of 5, I attempted to create several zoom blur images from using people, animals and household images.
How to create Zoom Blur
Zoom Blur Settings: Aperture: 4.5 ISO: 100 Shutter Speed: 0''3
How to create zoom blur:
1. Choose your image that you are going to take a picture of.
2. Make sure that the aperture, shutter speed and ISO are all on the correct settings. Aperture: F22 Shutter Speed: 1/500 ISO: 100/200
3. When all of these settings are correct, then focus on the image. When taking the photo, start zoomed all the way in to the image and while the camera is taking the photo, zoom out quickly, this will create a blur effect on the image.
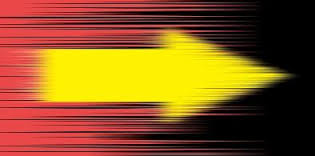
Zoom blur using Photoshop
|
|
|

|
|
My response to Zoom Blur
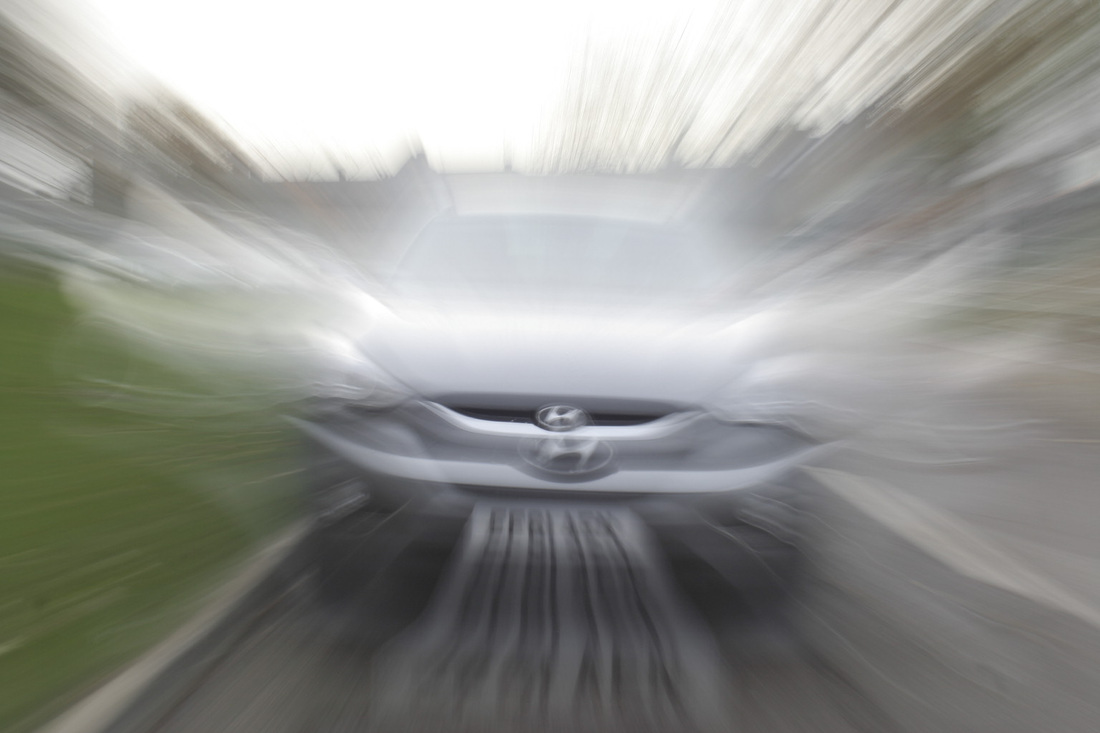
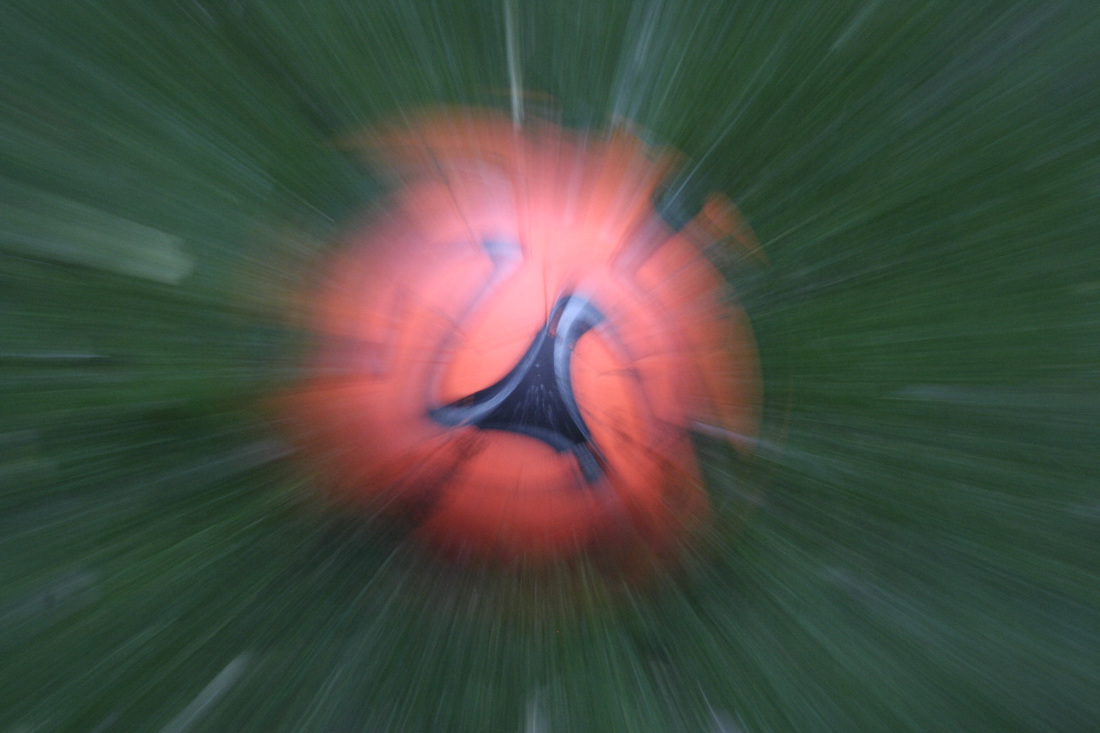

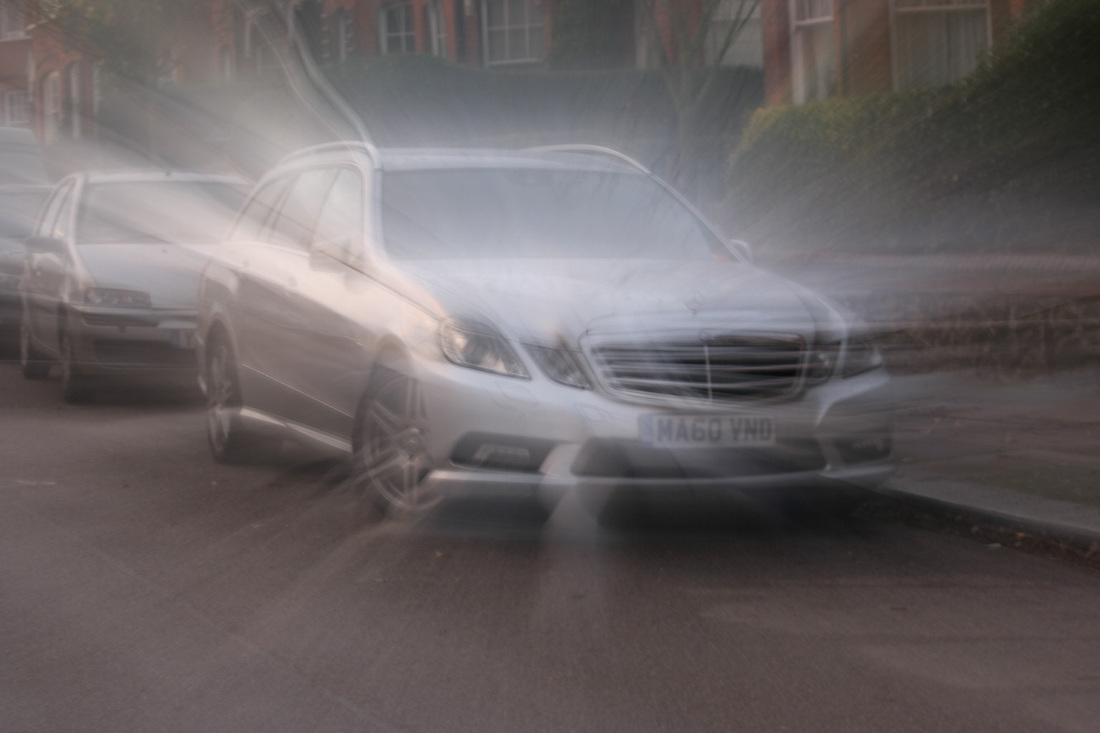

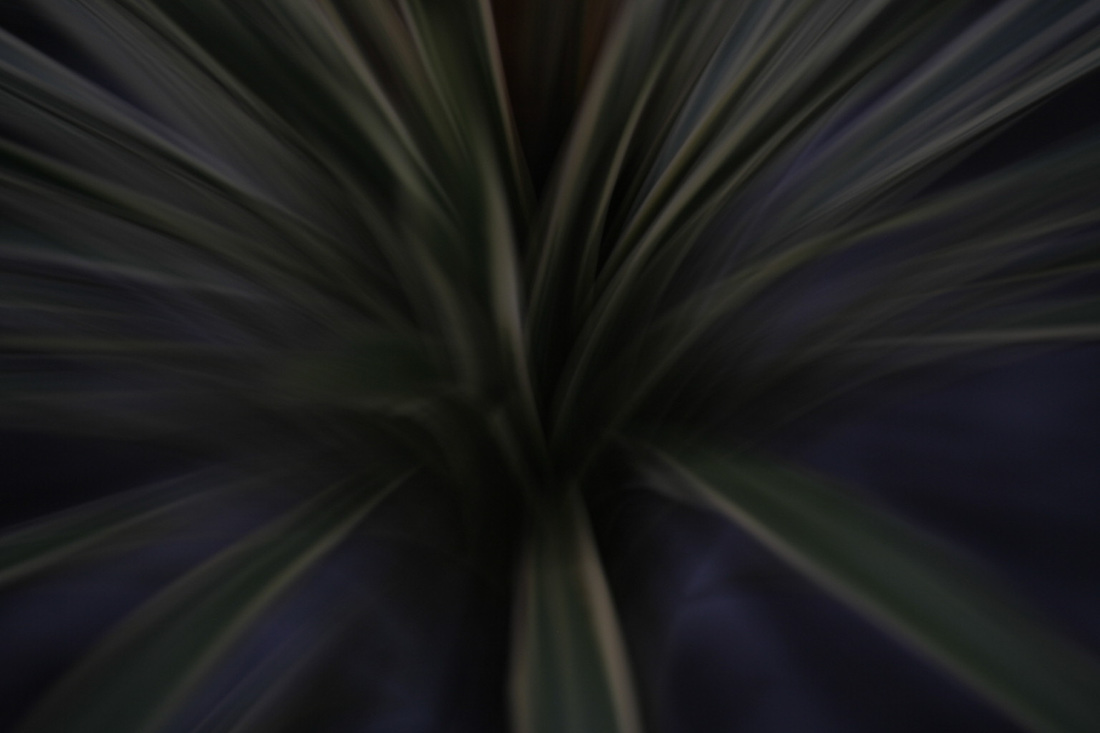
Examples of Zoom Blur
Key words
Sport mode Effects through different environments
Exposure Aperture Speed
Time Focus Time of shot Blur
Shutter Exposing objects Movement
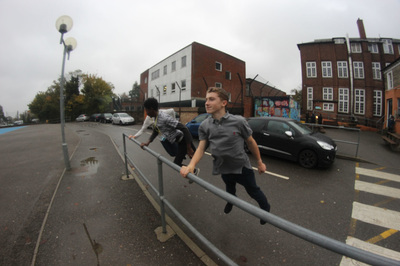
Making my G.I.F
|
|
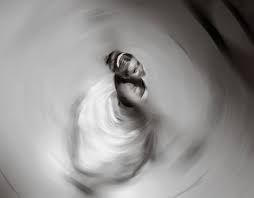
GIF stands for "Graphics Interchange Format." GIF is an image file format commonly used for images on the web and sprites in software programs. Unlike the JPEG image format, GIFs uses lossless compression that does not degrade the quality of the image.
This is a gif. Its a set of images binded together to create a stop start video. I created this by using the shutter speed and capture the model (me) running up a wall. After I had these images, I uploaded them to photoshop, made it into a running animation. After I did this, I uploaded it to my website as you can see. Google Definition: A lossless format for image files that supports both animated and static images. |
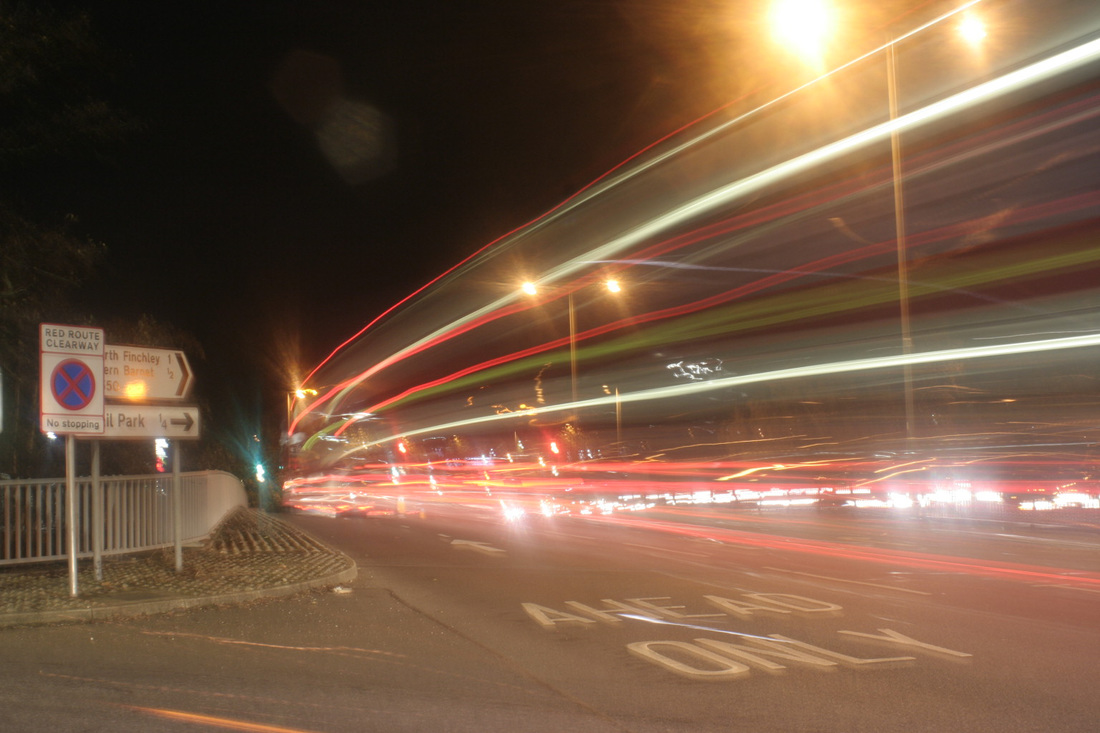
Light Painting
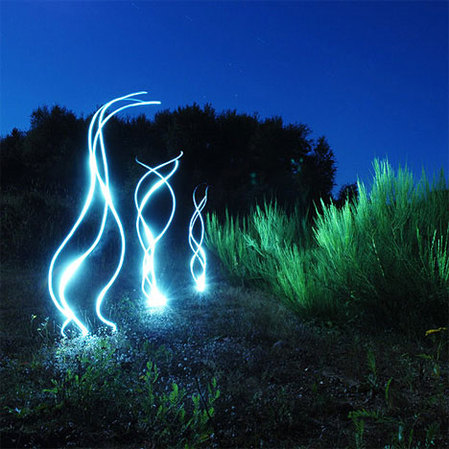
First Response
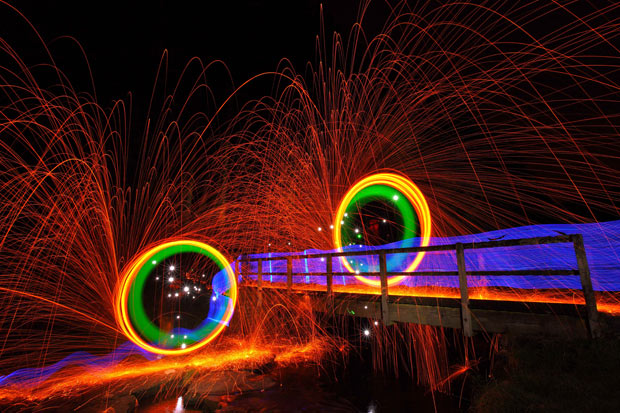
Second response


|
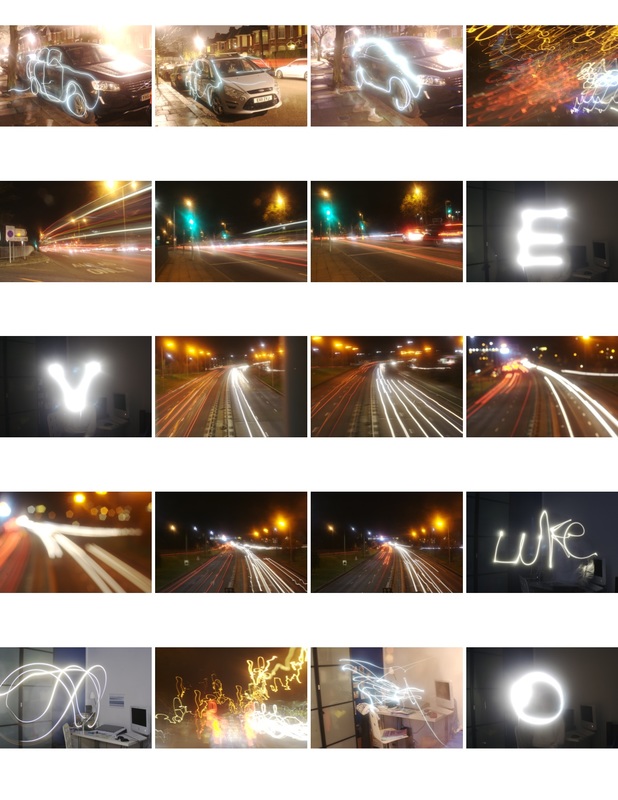
This is a light painting, this was created using my DSLR 350. I used a shutter speed of "10 and and aperture of 3.5. As you can see, this image was taken by a cross intersection on Colney Hatch Lane. This was taken when a bus drove past, capturing the direction of the lights on the vehicle as it pasts by.
|
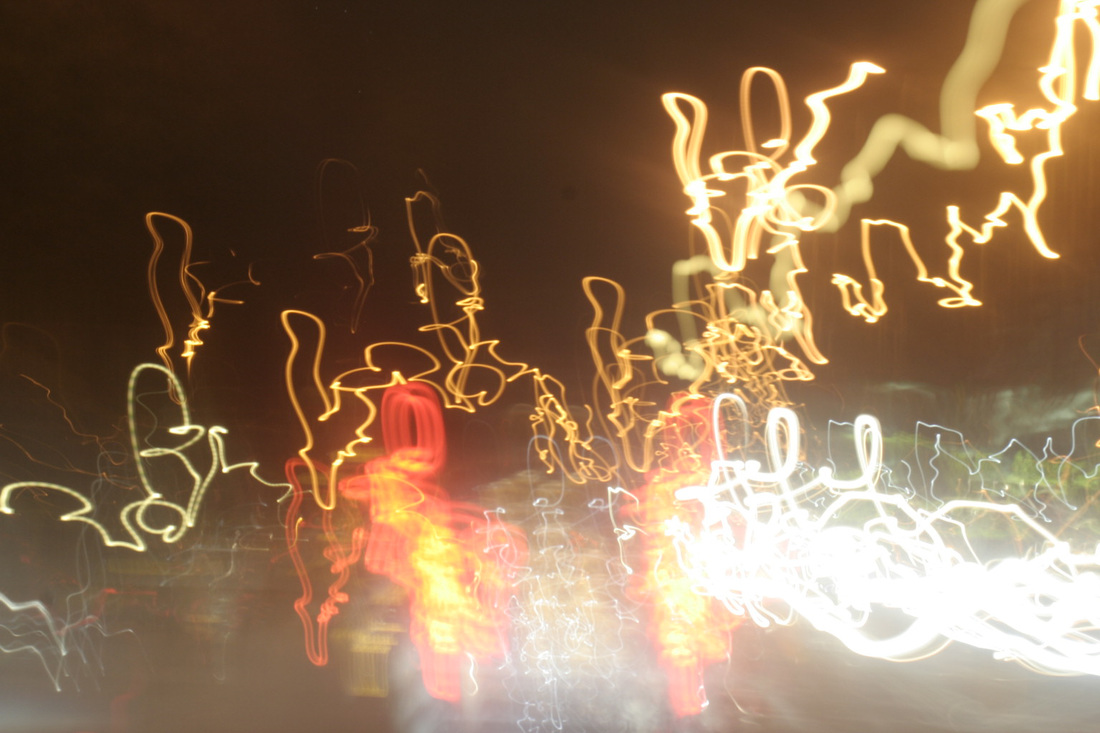
In this image, there appears to be a number of squiggles there. This is because I used an effect called the camera shake to produce movement lines. I used the same settings as the image before. This effect would of happened if I shook the camera in the image before as well.
|
Finally, in this image, I used settings with a shutter speed of 30 seconds because I needed the camera to allow time for my LED light to trial all around the outline of the right hand side of the car. I used the same aperture (3.5) to take this image.
|
Light painting stop animation
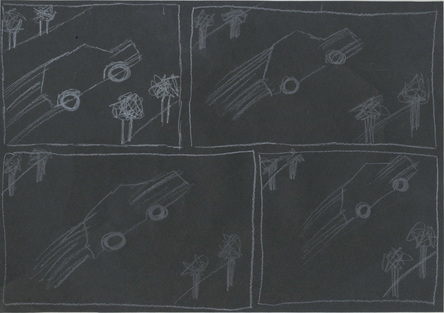
Story board
|
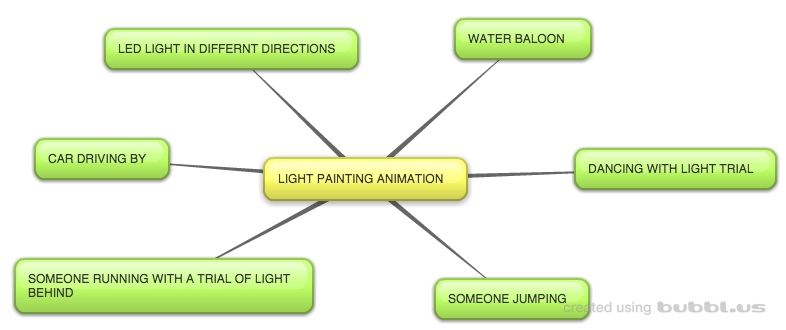
This is my plan for my stop animation story board. It shows a car moving with many different light trailing behind. Im going to get the driver to drive 1 metre every snap 50 times. Hopefully this will work. Im going to create the animation using photoshop. The final piece will be shown below. Other ideas I was going to use were:
- Someone running with a trial of light behind - Someone Jumping - Dancing with a light trial behind - LED Light in different direction - Water Baloon I decided to do the car driving by because I think it looks the most effective as a gif. |
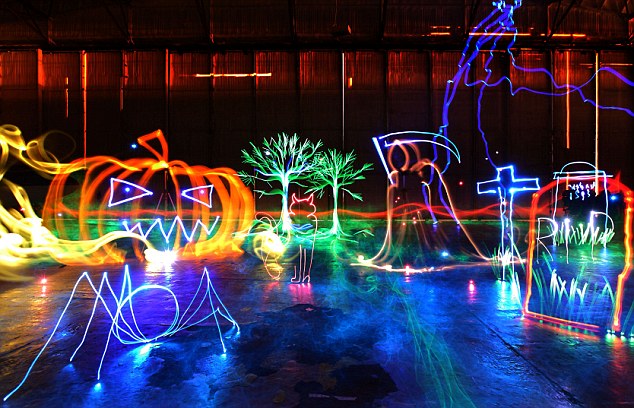
Artist Analysis
Michael Bosanko
Final piece - Best images over the unit


Final piece - Animated G.I.F
First Response
|
|
|
Final Response/Piece
|
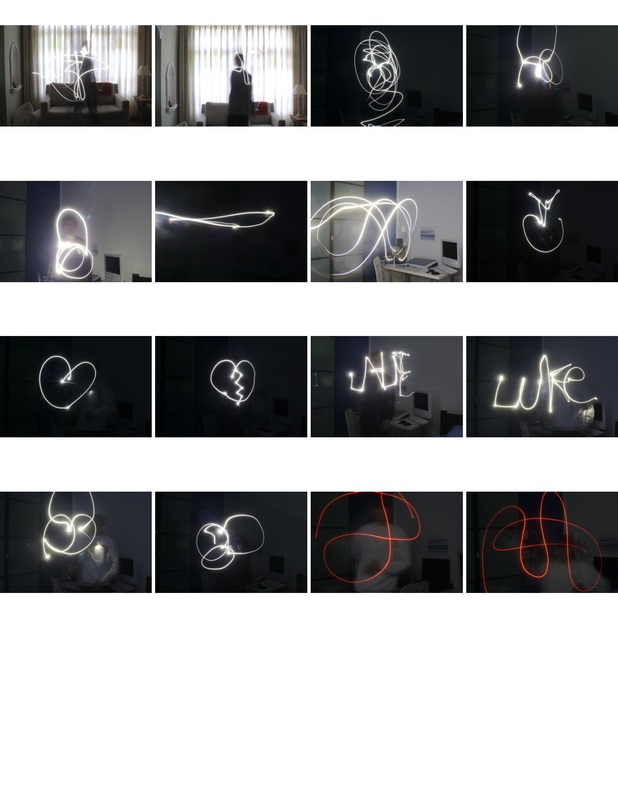
These are my two final pieces for creating a light painting GIF. In the first image it is shown to be a red stick man dancing to the music and this is the method that I used:
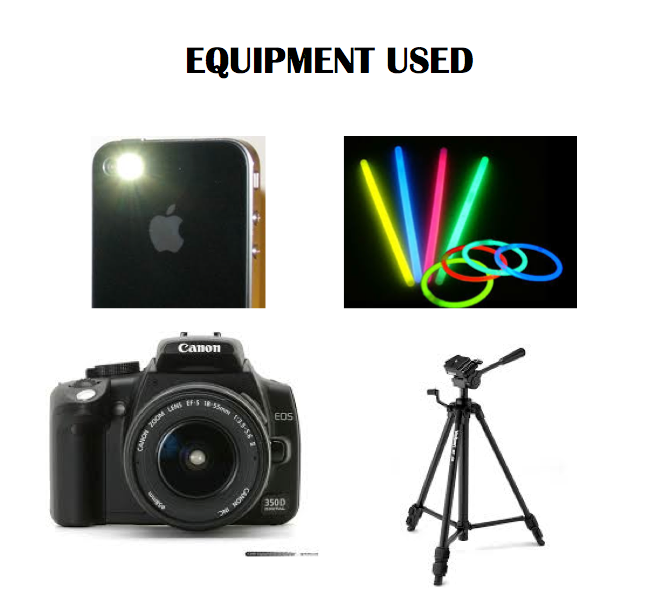
Step 1: Find a dark room with space too capture my images. Step 2: Set up my Canon 350d SLR Camera on my tripod about 3 metres away from where I was going to stand to create my stick man. Step 3: Draw a stick man at the edge of the screen and take a photo and do this, moving half a step to do the next movement. It took me 50 Shots to complete my light dance. I set my shutter speed to 15'' so I had time to draw the stick man. Step 4: After I had my 50 images then I uploaded them to my computer and opened them in photoshop. Step 5: Opening it up in photoshop, I made it into a GIF animation by copying each individual image onto the first photo to create layers and then after that I opened up the animation frames and put all the images into their frames and set all of them to 0.1 of a second.This then created the GIF. Step 6: Finally, I saved it to my desktop and uploaded it via Youtube. Here are the steps that I used to make my other final GIF: Step 1: Find a dark room with space too capture my images. Step 2: Set up my Canon 350d SLR Camera on my tripod about 1 metre away from where I was going to place my Glowstick Trampoline. Step 3: Next, I placed my trampoline on the floor and captured each image starting from when the ball entered the screen to when the trampoline transformed into a man. It took me an hour to complete this. Step 4: After I had my 54 images then I uploaded them to my computer and opened them in photoshop. Step 5: Opening it up in photoshop, I made it into a GIF animation by copying each individual image onto the first photo to create layers and then after that I opened up the animation frames and put all the images into their frames and set all of them to 0.1 of a second.This then created the GIF. Step 6: Finally, I saved it to my desktop and uploaded it via Youtube. |
